The advice has been passed down through generations: let the wound air out, let it dry, let the scab form. Do not cover it. Do not keep it moist. Letting a wound breathe is so deeply embedded in popular wound care that most people follow it automatically, without questioning whether it is actually what the biology of healing requires. It is not. In fact, it is the opposite.
In 1962, researcher George Winter published a landmark study in Nature demonstrating that wounds maintained in a moist environment healed up to 50% faster than wounds left exposed to air. That finding launched the modern science of wound care and has been replicated consistently across sixty years of subsequent research. Today, moist wound healing is the standard of care in clinical settings worldwide. Yet the “let it breathe” approach persists in homes everywhere — quietly slowing healing, promoting scar formation, and increasing the risk of complications in millions of minor wounds every year.
The six steps below reflect current wound care science. Each has a mechanism. Each addresses one phase of the biological process through which skin repairs itself.
How Wounds Heal: The Four Phases
Wound healing is not a single event — it is a coordinated biological process with four distinct phases that occur in sequence and overlap:
Hemostasis (minutes to hours): Blood vessels constrict and platelets aggregate to form a clot, stopping bleeding and sealing the wound.
Inflammation (hours to days): Immune cells flood the area, clearing bacteria and cellular debris. This phase produces the redness, warmth, and swelling associated with wound healing — normal responses, not problems to suppress.
Proliferation (days to weeks): New collagen fibers are laid down, new blood vessels form, and the wound contracts. This is when visible healing occurs.
Remodeling (weeks to months): Collagen is reorganized and the new tissue gains strength. Final scar appearance is determined largely during this phase.
Every one of the six steps below directly supports one or more of these phases. Mistakes in early wound care — exposing wounds to air, using the wrong cleaning agents, insufficient moisture — cost days or weeks in the proliferation phase and worsen the remodeling outcome.
The 6 Steps
Step 1: Control Bleeding With Direct Pressure
Apply firm, continuous pressure to the wound with a clean cloth or sterile gauze for a full five to ten minutes without lifting to check. Lifting the cloth disrupts the forming platelet plug and restarts the clotting process. If blood soaks through, add more material on top — do not remove and replace.
Most minor wounds stop bleeding within five to ten minutes of sustained pressure. If bleeding does not slow within 15 minutes, or if blood is pulsing or spurting, this indicates arterial involvement that requires emergency care.
Elevating the wound above heart level reduces blood pressure at the wound site and accelerates bleeding control. Applying ice wrapped in cloth to the surrounding area causes vasoconstriction that further reduces bleeding — but do not place ice directly on an open wound.
Step 2: Clean the Wound — With the Right Solution
Wound irrigation is the most impactful early intervention for reducing infection risk and accelerating healing, and it is the step most often done incorrectly.
What to use: Clean running water under gentle pressure — from a tap or a syringe — is the most effective wound irrigation method available. Saline solution (1 teaspoon of salt dissolved in 1 liter of clean water) is equivalent and useful when tap water quality is uncertain.
What not to use:
- Hydrogen peroxide: Destroys healthy fibroblasts — the cells responsible for laying down new collagen — as effectively as it kills bacteria. Studies consistently show hydrogen peroxide delays healing and is no longer recommended in clinical wound care guidelines.
- Iodine (povidone-iodine at full concentration): Toxic to fibroblasts at concentrations above 0.5%. Standard commercial iodine solutions are far above this threshold and damage the tissue they are intended to protect.
- Alcohol: Denatures proteins in healing tissue and causes pain without meaningful benefit over clean water.
The goal of cleaning is mechanical: flush debris and bacteria out of the wound with sufficient water volume and flow. Irrigate for at least one to two minutes. Use tweezers or a clean implement — not fingers — to remove any visible debris that does not flush out.
Step 3: Apply an Antibiotic Ointment
A thin layer of antibiotic ointment (bacitracin, neomycin, or a combination product) applied to the cleaned wound serves two functions: it reduces surface bacterial colonization and — critically — it creates the moist environment that the next step depends on.
Antibiotic ointments do not penetrate deeply enough to treat established infections, but they meaningfully reduce the risk of surface infection in minor wounds during the vulnerable early healing period.
For individuals with known sensitivity to neomycin (a common contact allergen), plain petroleum jelly (Vaseline) achieves the moisture-maintaining function without the antibiotic benefit — and is preferred over nothing.
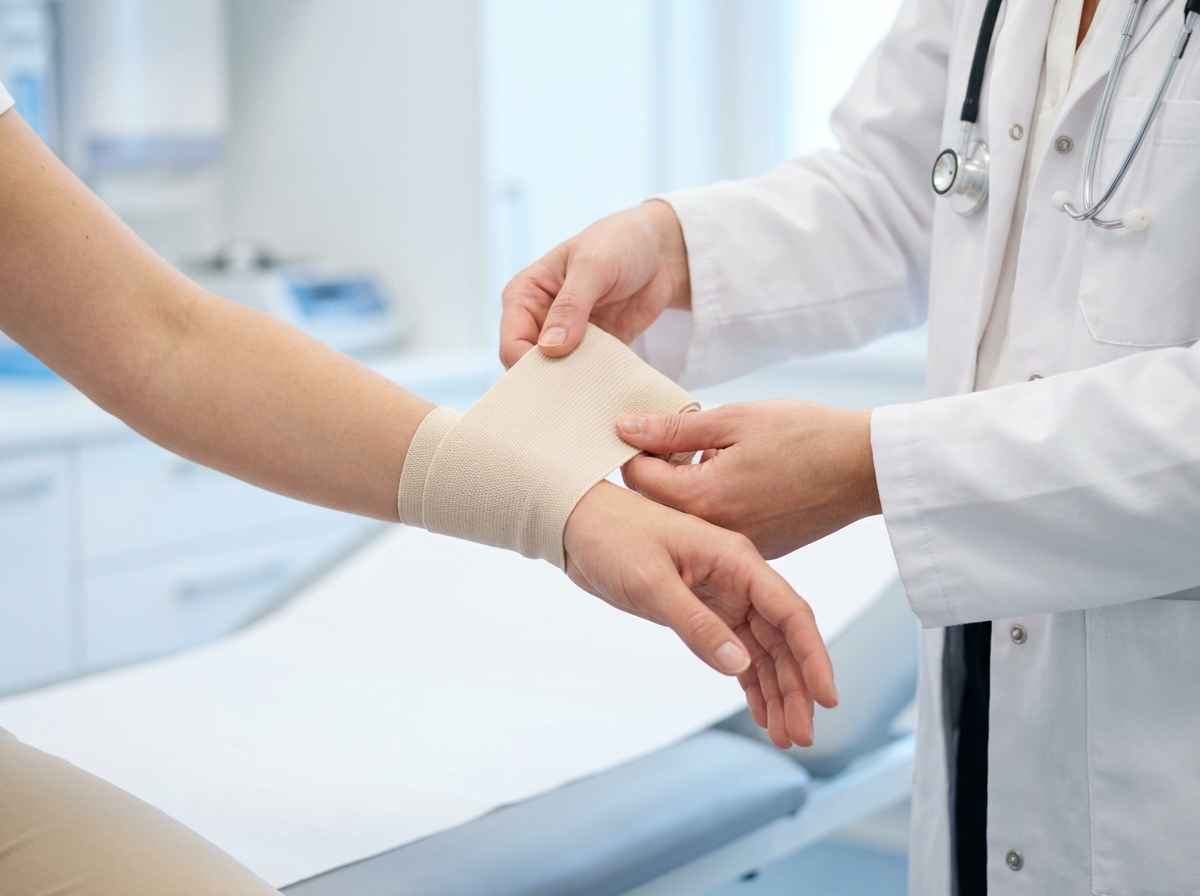
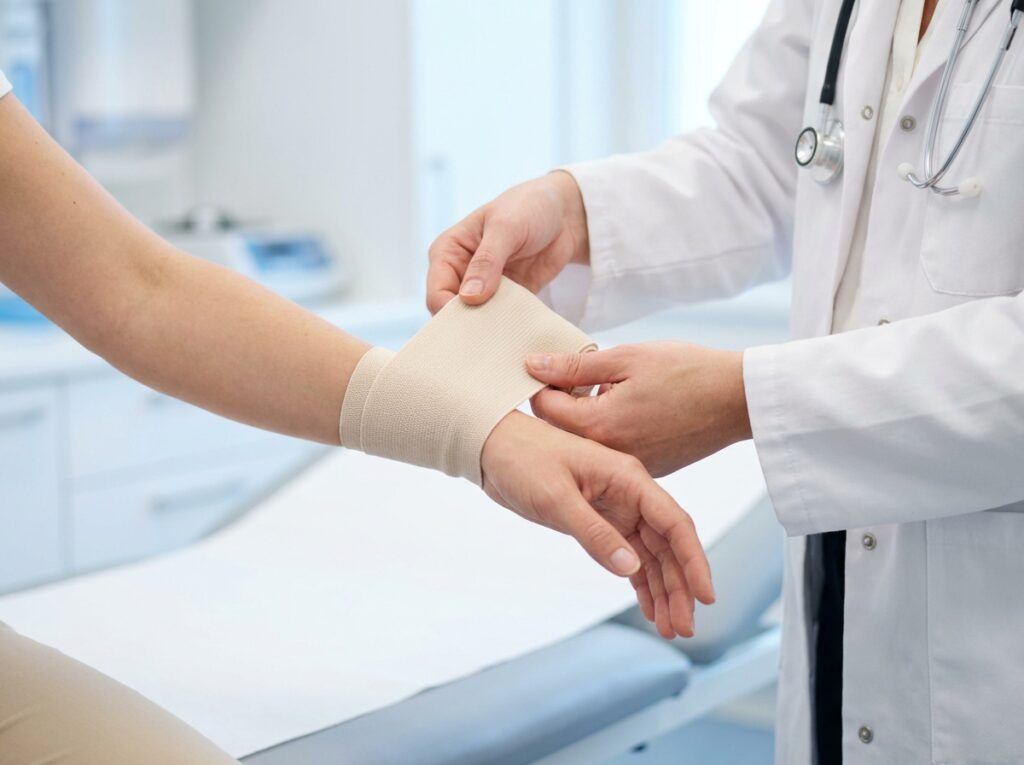
Step 4: Cover the Wound and Keep It Moist
This is the step that contradicts the most widespread wound care advice — and the most important one to get right.
A covered, moist wound heals faster, with less scarring, and with lower infection rates than an open, air-exposed wound. The biological explanation is straightforward: new cells migrate across the wound surface through the moist film at the wound bed. In a dry environment, they must first burrow under the desiccated surface to find the moisture layer — a detour that adds days to healing. The scab that forms on an exposed wound is not a sign of healing; it is a barrier the body must eventually work around.
Use an adhesive bandage or non-adhesive sterile dressing large enough to cover the wound without touching the center. The dressing should be replaced whenever it becomes wet, dirty, or begins to loosen — typically every 24 hours in the first week.
Hydrocolloid dressings — available at pharmacies — are particularly effective for larger wounds: they maintain an optimal moist environment, are waterproof, and require less frequent changes (every two to three days). Studies comparing hydrocolloid dressings to standard dressings consistently show faster re-epithelialization and improved cosmetic outcomes.
Step 5: Protect the Healing Wound
Newly forming tissue is fragile. During the proliferation phase (days 3 through 21), the wound must be protected from:
- Trauma: Repeated impact, friction, or stretching of the wound disrupts new collagen fibers and resets healing. Keep the wound covered and pad areas subject to friction.
- Sun exposure: UV radiation on a healing or recently healed wound significantly increases pigment deposition, producing a darker, more visible scar. Keep healing wounds covered when outdoors, and apply SPF 30 or higher sunscreen to healed wounds for at least six months.
- Soaking: Prolonged water exposure (baths, swimming pools) macerate healing tissue and introduce bacteria. Showers are generally fine with a waterproof dressing. Avoid submerging a healing wound until full re-epithelialization is confirmed.
Step 6: Support Healing Through Nutrition
Wound healing is metabolically demanding. The body requires specific nutrients in higher-than-baseline quantities during the proliferation and remodeling phases. Three are particularly critical:
Protein: Collagen is a protein — its synthesis requires adequate amino acid availability. Inadequate protein intake measurably slows wound closure. Aim for at least 1.2 to 1.5 grams of protein per kilogram of body weight daily during active wound healing. Eggs, fish, legumes, and dairy are efficient sources.
Vitamin C: Essential for collagen cross-linking — the process that gives new collagen its tensile strength. Vitamin C deficiency produces fragile, poorly healing wounds even when protein intake is adequate. The requirement increases during healing; citrus, strawberries, bell peppers, and broccoli are high-density sources.
Zinc: Required for cell proliferation and immune function at the wound site. Zinc deficiency delays every phase of healing. Oysters, red meat, pumpkin seeds, and legumes provide the most bioavailable forms.
Signs a Wound Needs Medical Attention
The following signs indicate infection or healing failure that requires professional evaluation:
- Increasing (rather than decreasing) redness, warmth, or swelling after day two
- Pus or cloudy discharge from the wound
- Red streaks extending from the wound edges — a sign of spreading infection
- Fever above 38°C (100.4°F) after the first 24 hours
- A wound that shows no visible healing after seven days
- Deep wounds, wounds with edges that cannot be held together, or wounds over a joint
This article is for informational purposes only and does not replace professional medical advice. Deep, large, heavily contaminated, or bite wounds require medical evaluation and should not be managed at home. Consult a healthcare provider for any wound that shows signs of infection or fails to improve within seven days.